ElCidCampeador
Mechanical
Hi,
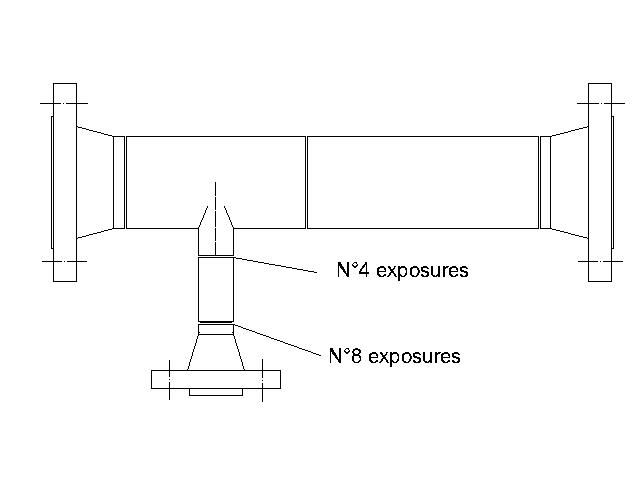
I have a vessel with a nozzle+wn flange 1" Sp.9,09mm, material carbon steel. BW weld between flange and nozzle has to checked 100% RX acc. to ASME V.
Construction code is ASME VIII DIV.1.
NDT company for this joint used double wall double viewing technique, which means, acc. to ASME V par. T-271.2 (b)(2) at least 3 exposures.
But if look at the RT report, I find N°8 exposures! Ok, 3 it's minimum, but 8... why?
NDT company only answered me that it depends on the high thickness comparing to the small diameter of pipe...I hope they did not cheat me.
What do you think? Thanks

![[worm] [worm] [worm]](/data/assets/smilies/worm.gif)
