RayPastrana
Mechanical
I'm making drawings of tubes at work. These tubes need to fit inside other expanded tubes, fittings, and sockets, and then go under brazing.
In order to comply with our brazing standards we need to have a certain gap between the parts and control the shape.
Applying rule #1 of ASME Y14.5 grants me an envelope, but I need to control the cylindricity of the surface of the male section of the tube.
My question is:
I've been researching and found a good thread that talked about this but in regards with straightness and flatness.
I know that you can get around these kind of problems via notes, but I want to know if there's any notation that can mean what I want.
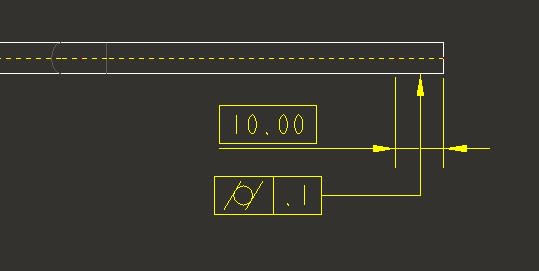
Thanks in advance for the aid in this, my first post.
Ray
In order to comply with our brazing standards we need to have a certain gap between the parts and control the shape.
Applying rule #1 of ASME Y14.5 grants me an envelope, but I need to control the cylindricity of the surface of the male section of the tube.
My question is:
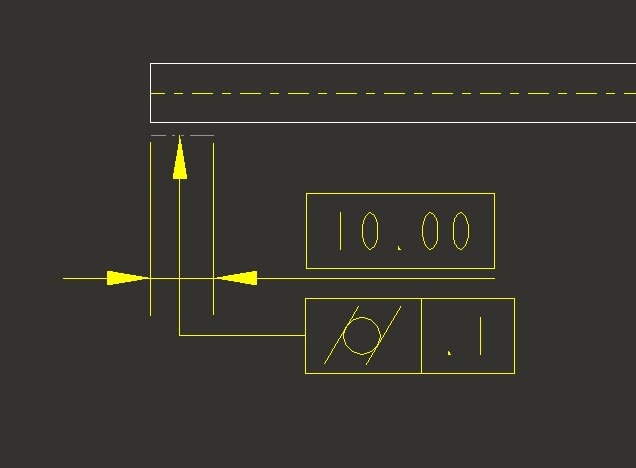
How can I define an area/length/zone of application for a geometric tolerance? In this specific case, cylindricity.
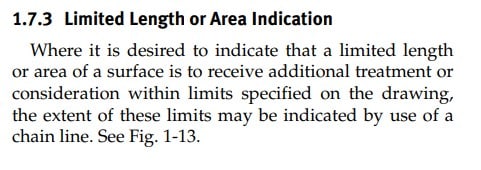
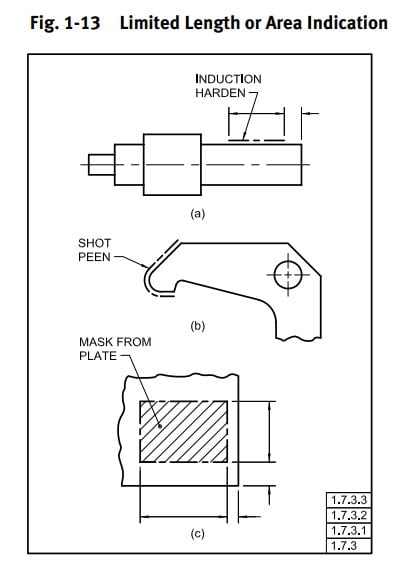
I've been researching and found a good thread that talked about this but in regards with straightness and flatness.
I know that you can get around these kind of problems via notes, but I want to know if there's any notation that can mean what I want.

Thanks in advance for the aid in this, my first post.
Ray

