Continue to Site

Eng-Tips is the largest engineering community on the Internet

Intelligent Work Forums for Engineering Professionals

  • Congratulations KootK on being selected by the Eng-Tips community for having the most helpful posts in the forums last week. Way to Go!

How to sharpen drill bit to remove scrap. 4

Status
Not open for further replies.

vanquang

Mechanical
Apr 30, 2018
15
Hello everyone,
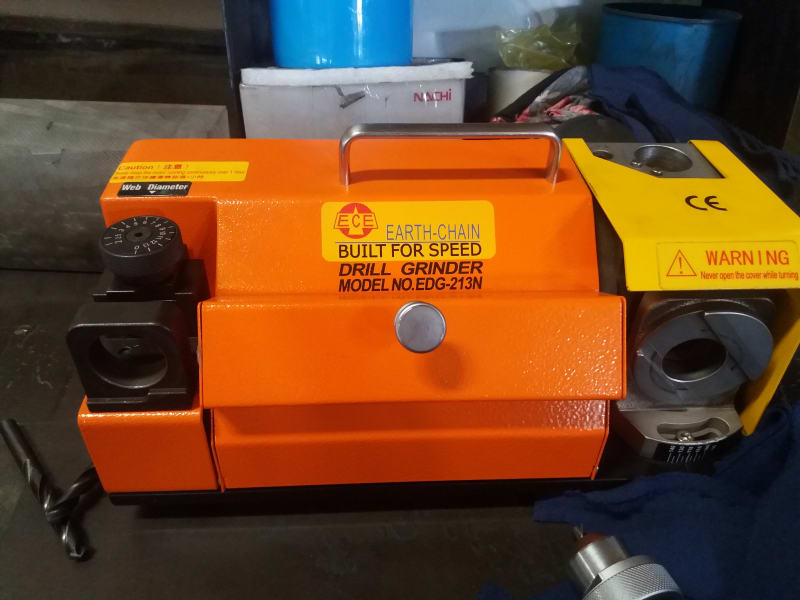
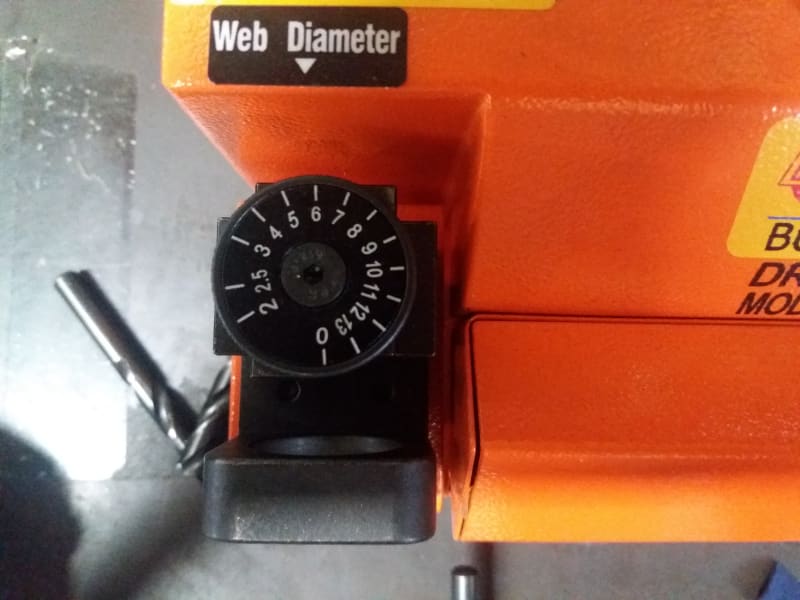
I use a grinding machine to sharpen drill bits.
20180807_085032_e78jhj.jpg

20180807_084957_sl2hx6.jpg

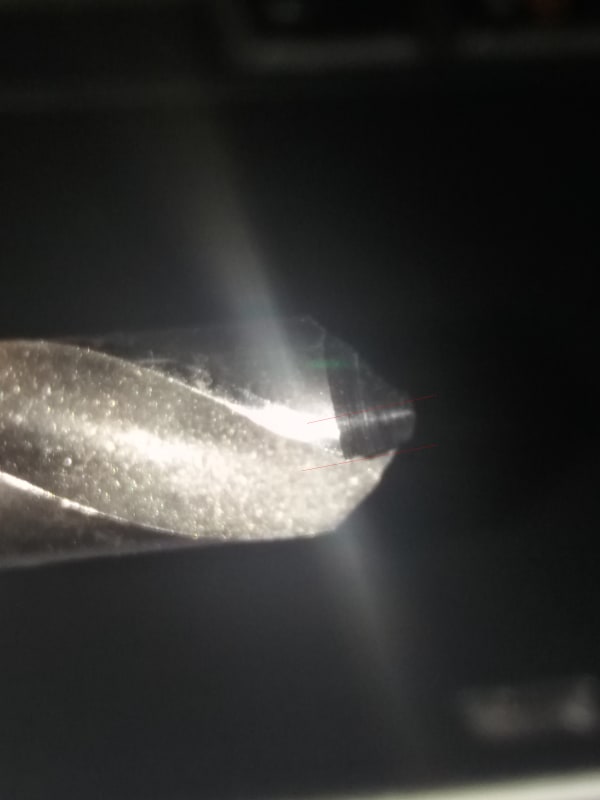
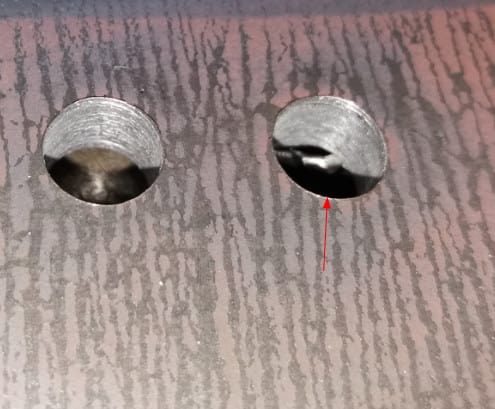
But the sharpened tip is not ideal. The chisel edge is not straight and too large. The holes always have scraps in it's edge.
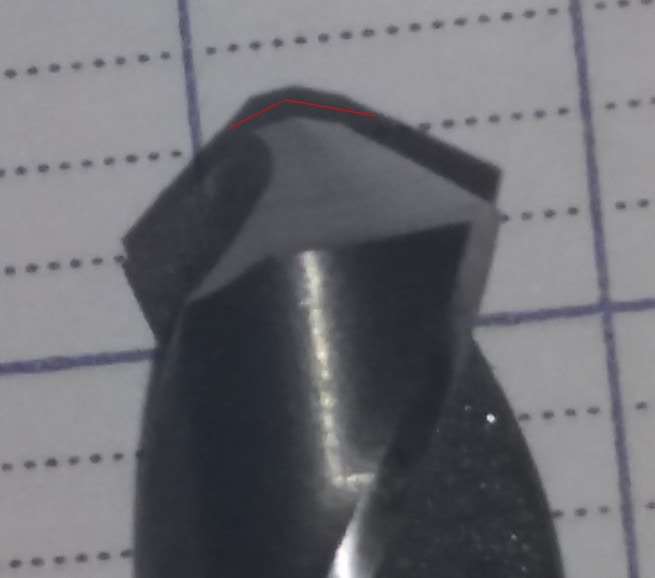
20180808_233816_tqqfdy.jpg

20180808_234637_f5gfxc.jpg

20180810_094509_c91cyh.jpg

Does anyone know how to adjust the tool to solve those problem.
Thank you
 
Replies continue below

Recommended for you

I don't understand what you mean Ted. The work piece will be transferred to another process after drilling without removing burr.The burr only appear after drilling with re-grinded drill bits not new drill bits
 
Be aware that the side flutes of the drill cannot be sharpened without changing the diameter. If you use a dull drill it will damage these flutes and you may have to take a 1/4" off the length to remove these dull flutes.
 
The burr only appear after drilling with re-grinded drill bits not new drill bits

Then amend your process to only use new bits, or bits that have been re-sharpened using equipment similar to what the drill manufacturers themselves use.

When I worked for Ford, many decades ago, we had an entire department that resharpened cutting tools, including drill bits. We had guys who could re-point a drill using just a grinding wheel, holding the bit in their fingers. Most of them had been doing it for their entire working lives. They've probably all died by now, and been replaced by machinery.
... but I remember that we planned to get only three or four sharpenings from a given drill bit. I didn't understand why then, I just accepted it. Compositepro has explained why: When the flute sides wear, as they would especially tend to do when the resharpened point is imperfect, you have to shorten the drill by the cut depth, e.g., the typical thickness of the stock being drilled, in order to get new, sharp flutes of the correct diameter into play, then you can re-point the drill.


Mike Halloran
Pembroke Pines, FL, USA
 
Even a very sharp drill will leave a burr. If you don't want the burr and still want to use just one drill thus not using a deburring tool like a counter sink. What you need is a drill that is stepped, it would have a smaller size to drill your hole and then a larger size that will automatically counter sink or slightly chamfer the hole to deburr it. Of course you will need a nice flat plate your drilling on and a good accurate machine to repeat the process.
Can always use a stop counter sink on a spring loaded holder to maintain the proper chamfer size.
And I do like Mike says hand hold to resharpen drills.

The side of the drill is not for cutting and as it wears it gets smaller that is what the other person was trying to say. So old drill more likely to leave a nice burr.
 
Thank you all for your help/ Finally, I have managed to fix my problem although I don't have a clear understanding how burrs are born during drilling process. I know that there is always burr after drilling, but some worker make burr which are higher than other make even they use same machines. I mean we need a standard guide for drilling. I am considering about installing high speed camera to see how drilling make burr.
 
It may be the feed speed combined with the pressure and lube.
 
vanquang ,
Composite pro hit on your problem , after you have sharpened the drill , examine the side flutes under a magnifying glass to look for corner rounding or wear. If it is present cut that portion of the drill off, then re sharpen, bear in mind that most drills are manufactured with a tapered web and as you sharpen the drill you will have to back grind the web to relieve that thickening . Your picture of the drill just above the picture of the holes shows exactly that kind of wear. If this is a problem, a drill ground like a center bit, depth set so the countersink part just barely touches the surface will eliminate most of this.
B.E.

You are judged not by what you know, but by what you can do.
 
Thank you berkshire,
I'm sorry but I am not good in English to understand all your explain.
May you explain more for me, please.
- what is "If it is present cut that portion of the drill off"
- Do you mean I need to re-grind the web, but what is thickening,
- Would you mind circle the wear in my picture,and what you mean about " a drill ground like a center bit, depth set so the countersink part "
 
vanquang,
A center drill bit looks like this attachment :
It is common when drilling a hole where you do not want a burr to set the depth so that the wider part of the drill just takes off that burr and leaves a slight chamfer. Sometimes a common drill bit is modified to get the same effect instead of using a center bit.

Now regarding the wear on the sides of the drill, after you have drilled several holes, not only the cutting edge of the drill , but also the sides of the drill will wear. this is the area called the margin in the attached picture, when that is worn you cutoff that piece of the drill to known good material . With regard to the web thickness this is the area in the circle in the picture. After the drill has been sharpened several times, because of the taper I mentioned before, this gets bigger, making the chisel edge wider. to make that chisel edge narrower a small amount of material is ground from the back of the flute. This lowers the pressure needed to make the drill cut.

I hope this explains thing a little further.
B.E.

You are judged not by what you know, but by what you can do.
 
Thank you berkshire, I understood but how should I grind the web.
 
vanquang,
Here is a Utube video on the subject. It is highly simplified and just shows the basics. This is sometimes referred to as grinding a split point. The technique enables more sharpening's from a used drill. It also is used on new drills to reduce contact pressure and reduces wandering. Since English is not your first language, you may have to watch the video several times, this man has a fairly strong accent. The actual demonstration starts at 2.44 mins.


B.E.

You are judged not by what you know, but by what you can do.
 
Thank you so much again for your helpful video, berkshire.
 
Status
Not open for further replies.

Part and Inventory Search

Sponsor