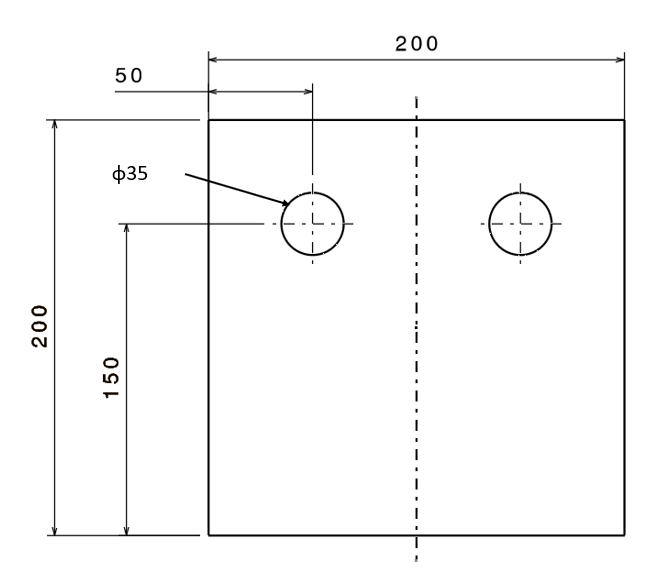
We received a drawing from a vendor...the drawing below is just for illustration of what I wanted to ask

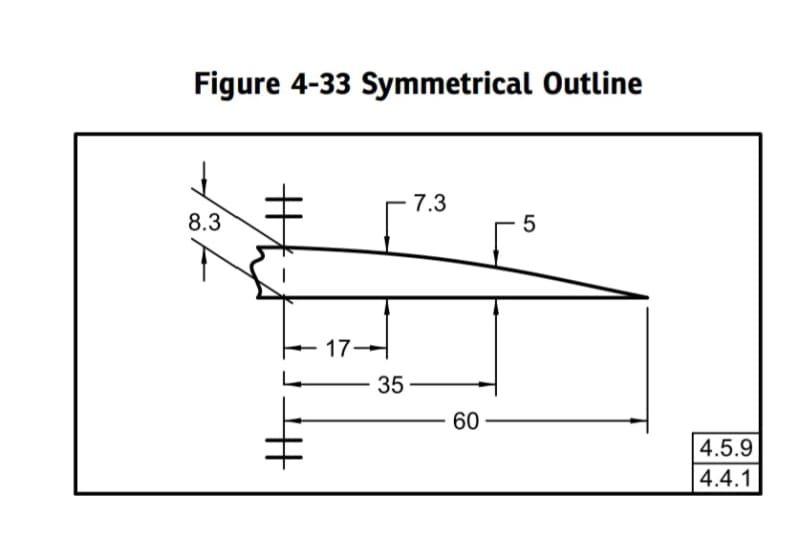
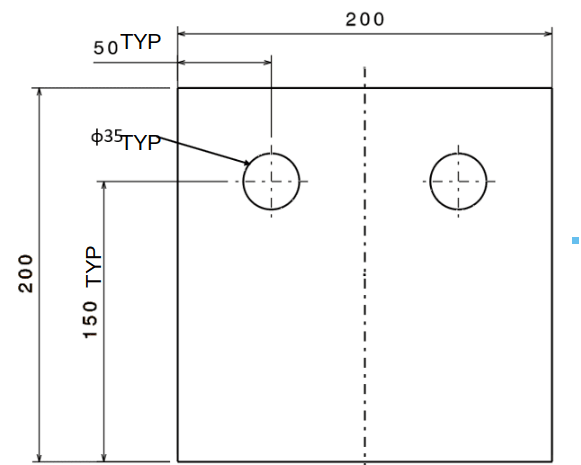
I noticed the hole on the right is not dimensioned...he explained that since he has drawn a centreline in the middle (I forgot to dimension it), it automatically means that all dimensions to features on the left applies to the other side of centreline. I've not come across such a convention...I did some cursory check online and I am not able to find any references which say such a representation is allowed. I will go through ASME Y14.5 in detail but was hoping to get some opinions from experienced engineers.

I noticed the hole on the right is not dimensioned...he explained that since he has drawn a centreline in the middle (I forgot to dimension it), it automatically means that all dimensions to features on the left applies to the other side of centreline. I've not come across such a convention...I did some cursory check online and I am not able to find any references which say such a representation is allowed. I will go through ASME Y14.5 in detail but was hoping to get some opinions from experienced engineers.


