Eng-Tips is the largest engineering community on the Internet

Intelligent Work Forums for Engineering Professionals

Tapered Shafts

Status
Not open for further replies.

PRESSEDSTEEL

Mechanical
Nov 23, 2006
8
0
0
US
Hello All,
I have a situation where mating parts do not match. The assembly is a spinning rotor. The tapers should be equal but the male is 16.6 degrees and the female is 16.3 degrees. This is a legacy problem that I have inherited. I looked up a chart for sizing tapers but it listed crazy dimensions such as 225/32. I am pretty sure the angles need to match. The stack up of tolerances in this assembly is critical in the axial dimension to maintain a radial clearance of .01. Another reference document defines the taper as 3.500 TPF. Which is the proper way to dimension this feature angle or TPF? Also how would you inspect this feature?
 
Replies continue below

Recommended for you

There are numerous taper standards for several different purposes. You did not share what this particular application is.

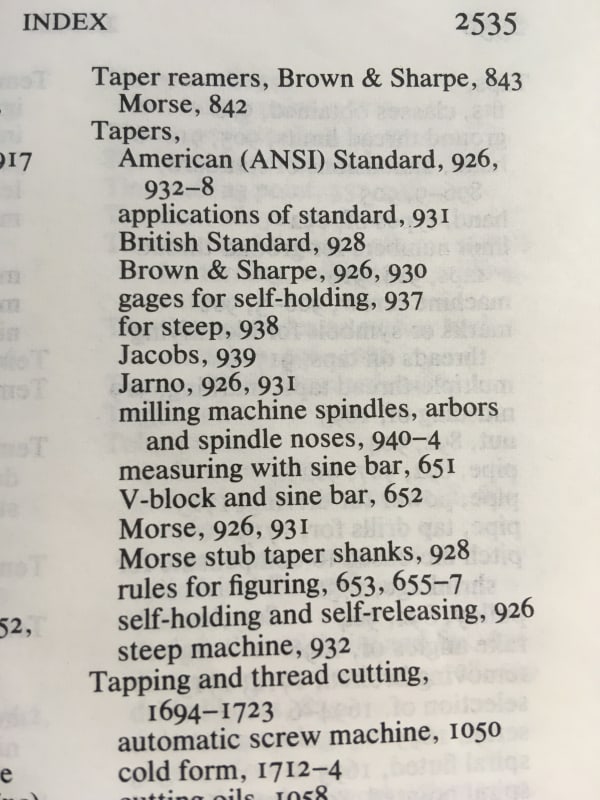
ALL engineers that have anything to do with machinery of any kind should have at least one actual real printed book on their shelf - Machinery's Handbook. From the index:
IMG_3958_jgp7ns.jpg
 
Before calculators were common 225/32 is how you would spec a taper.
It is how you would set up to cut it and how you would measure it.

= = = = = = = = = = = = = = = = = = = =
P.E. Metallurgy, consulting work welcomed
 
I most commonly see tapers specified in taper per foot.

Axial position is somewhat variable on a taper assembly but in practice maintaining an axial position is achievable. In the field we mate the tapered components and then push them an additional specified distance. You may want to consider assembling your taper and then machine the axially critical features. Once machined, the assembly should be able to be broken down and reassembled with repeatable dimensions.

I agree that normally the angles should match. Is the hub cross section relatively constant or is it thinner on one end? The difference in angle may promote a more even pressure at the contact surface? Another example, plug valves are often specified with a small angle difference to promote seating and release.

I have never specified a new taper so I can't speak to quality checks during production but the final inspection always a "blue fit" where Prussian blue dye is used to check contact and the taper is hand sanded until 90+% contact is achieved.
 
pressedsteel
tapers can not be exact perfect, or it gets very expensive and parts are rejected.
when assembled are the tapers locking up, are there parts not locking up or assembling, have them reworked.

 
225/32 = 16.188 degree taper.

16.6 on a 16.3 degree taper is a .0027 inch/inch difference, which seems really too large for small diameter tapers; maybe acceptable on large diameters.
 
Many tapers are of the same angle for the male and female parts, nominally. However in the case of relatively steep tapers, especially in parts with a small OD compared with the shaft, you have to increase the angle on the inner, otherwise the contact stress is mainly taken at the forward end. I'd suggest that compared with a typical machined taper (Morse etc) 16 degrees is pretty steep.

Cheers

Greg Locock


New here? Try reading these, they might help FAQ731-376
 
Status
Not open for further replies.
Back
Top