sendithard
Industrial
- Aug 26, 2021
- 186
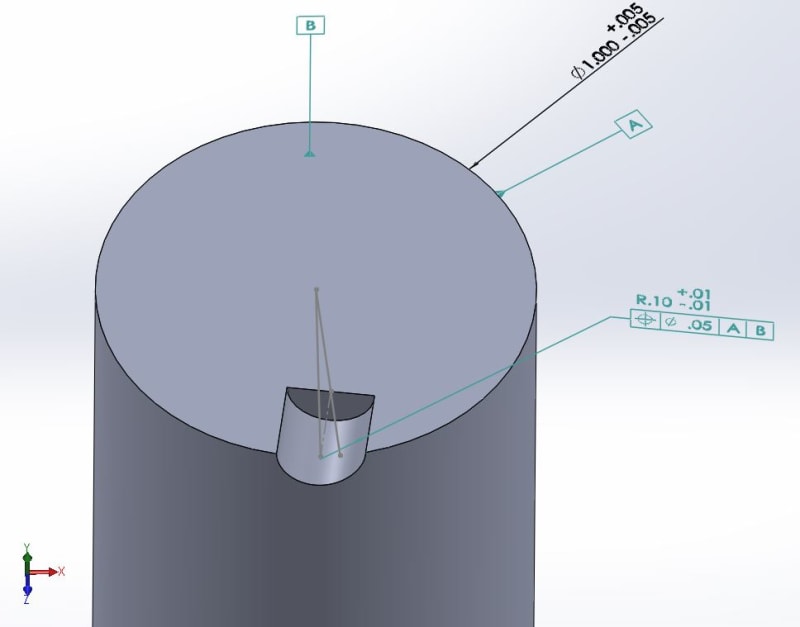
I don't understand a positional callout when a part still has rotation freedom.
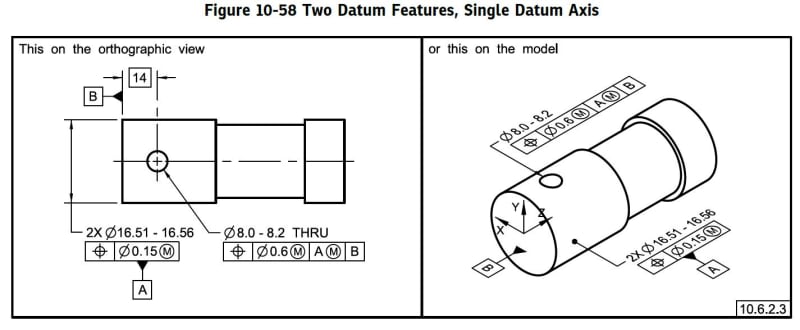
For example, 7.10.3 in 2018 std states a primary cylindrical datum is always associated with two theoretical right angled planes.
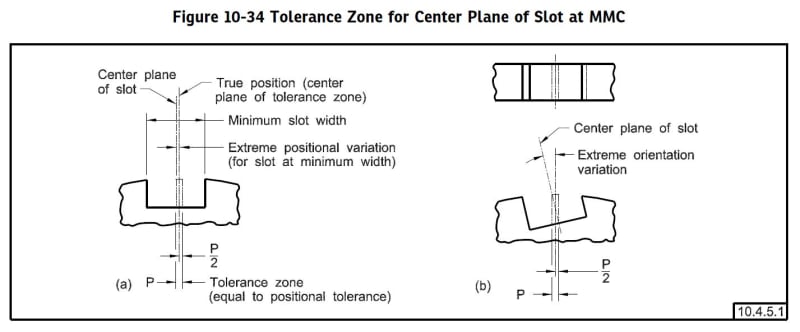
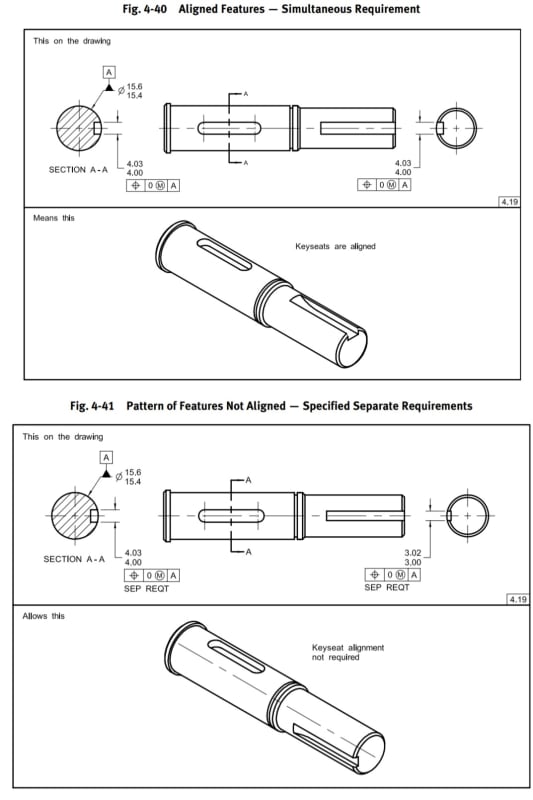
My question is when a hole(diam tol zone) or a slot(planer tol zone) has a position of A|B and rotation is still on the table how do you define the plane or axis to use as the center of the tolerance zone....see below pics...For the model below, you can see a poorly drilled hole, one could assume the tolerance zone axis goes thru the bottom of the hole or the top of the hole, I guess you could even fit one thru the mid-point of the hole axis. Another method would be to set it up as a best fit to minimize the deviation as kindoff seen in the last picture.
Thanks for any help.
