J-Hendry
Mechanical
- Jul 16, 2021
- 10
Hello all,
I hope this is posted in the correct place.
I am currently going back and forth with one of our engineers regarding how I read the drawing and the setup for inspection to the engineer who has revised this drawing (Not the original drawer).
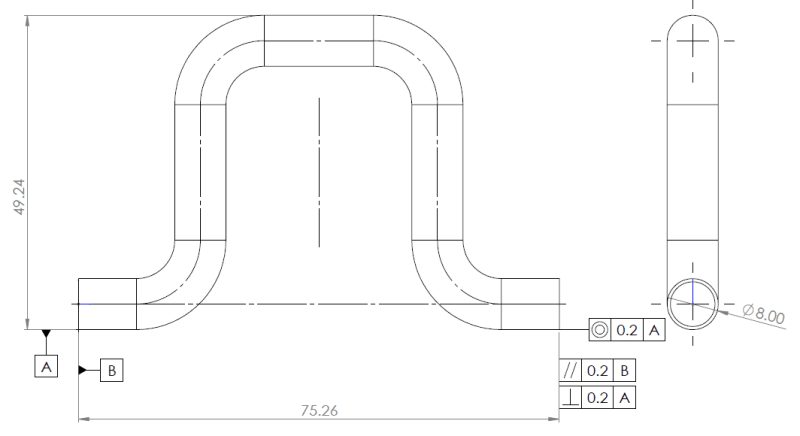
Below is a roughly drawn part, fairly similar to what I'm working with.
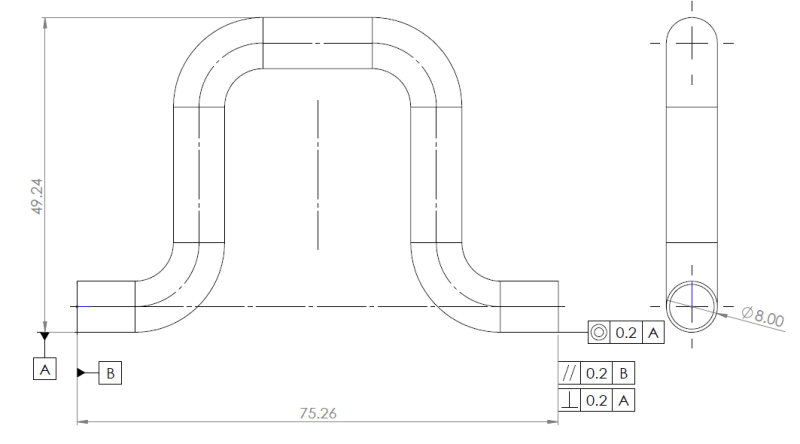
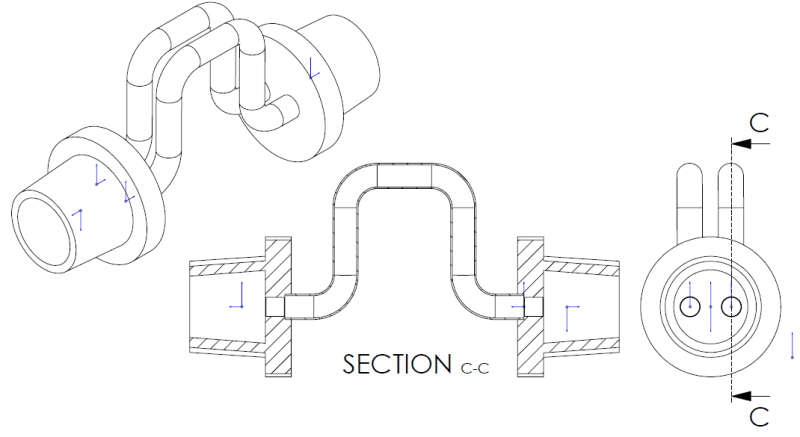
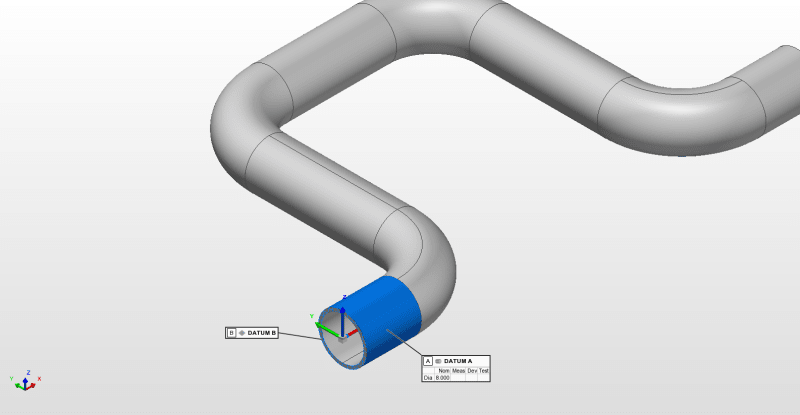
The way I read this drawing is: DAT A is the cylinder it's connected to and DAT B is the end plane - As the image displays below.
I have queried the DATUM intent from the engineer and he has told me that this is supposed to be read as DAT A being a line taken from the "Highest point" of this tube side profile across both parallel cylinders and DAT B as the end plane. - As the image displays below
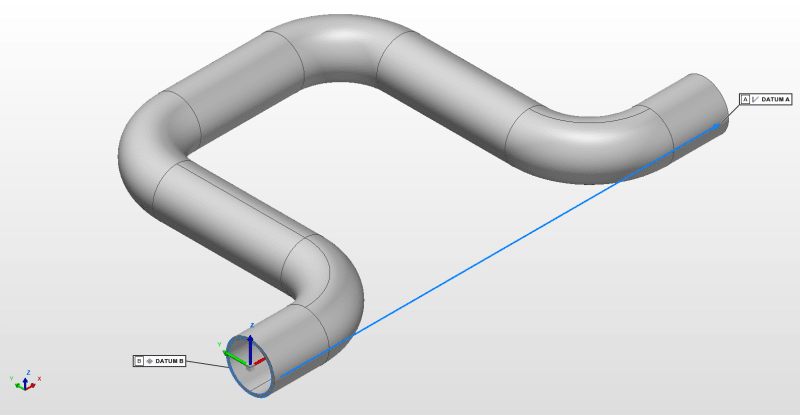
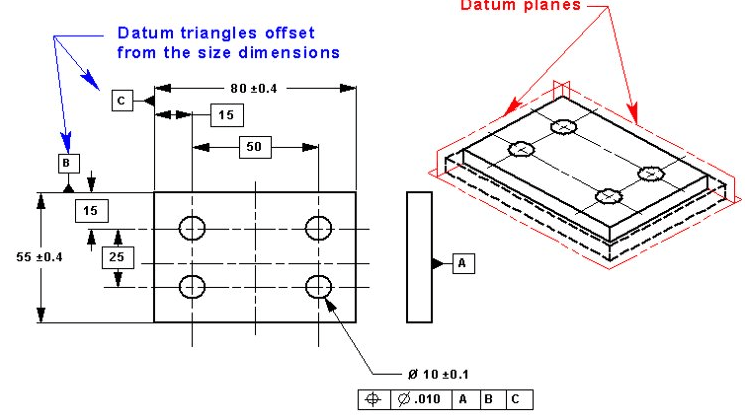
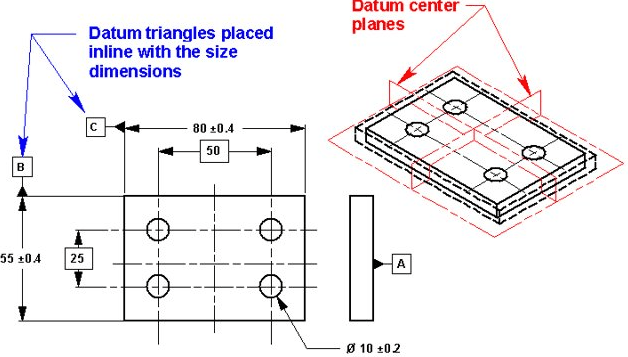
So we're both on the same page (fairly obvious) with DATUM B. It's DATUM A that is confusing. We're working to ISO 8015. I have been reading up on this throughout the day and I believe for the drawing to read how it was intended, the line requested should be marked with DATUM target points creating a DATUM target line.
Could anyone share their thoughts on this either as a design engineer or quality inspector?
Thanks
I hope this is posted in the correct place.
I am currently going back and forth with one of our engineers regarding how I read the drawing and the setup for inspection to the engineer who has revised this drawing (Not the original drawer).
Below is a roughly drawn part, fairly similar to what I'm working with.

The way I read this drawing is: DAT A is the cylinder it's connected to and DAT B is the end plane - As the image displays below.

I have queried the DATUM intent from the engineer and he has told me that this is supposed to be read as DAT A being a line taken from the "Highest point" of this tube side profile across both parallel cylinders and DAT B as the end plane. - As the image displays below

So we're both on the same page (fairly obvious) with DATUM B. It's DATUM A that is confusing. We're working to ISO 8015. I have been reading up on this throughout the day and I believe for the drawing to read how it was intended, the line requested should be marked with DATUM target points creating a DATUM target line.
Could anyone share their thoughts on this either as a design engineer or quality inspector?
Thanks

