Norse1957
Mechanical
- Jul 12, 2018
- 6
Hi all,
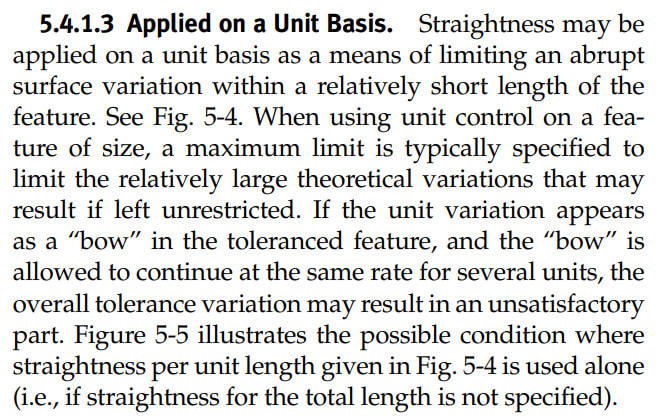
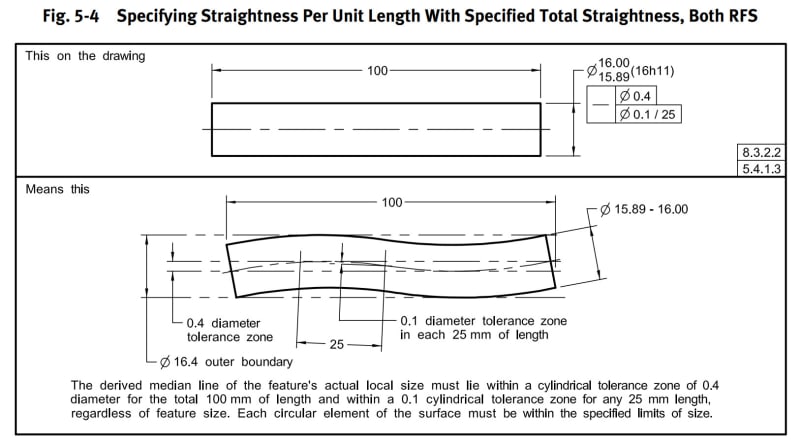
I've come across a drawing that someone did for a very simple part that is just a 42" long, .63" dia. aluminum rod, with a straightness callout. The question I have is I've never seen straightness called out this way, if you look at the attached image, where they're saying it needs to be straight within .015" per every 12"... Has anyone ever seen it done this way? I suspect that whoever did the drawing, didn't know of a way to properly show this, and they just did their own thing, rather than following proper GD&T practice. That being said, the only way I know would to just have a note written under the straightness callout?
Jack


